Straw Bale Gardening
My wife and I decided to try straw bale gardening this year and it has been a super success. What is straw bale gardening? You use straw bales as the soil for your garden plants. They only cost $3 - $5 each. They don’t have weeds and you eliminate a whole lot of bending. You use a bale to plant a garden on your back deck or in a location with a small footprint. We love the straw bales. I can’t recommend them too highly. Here’s how it works:
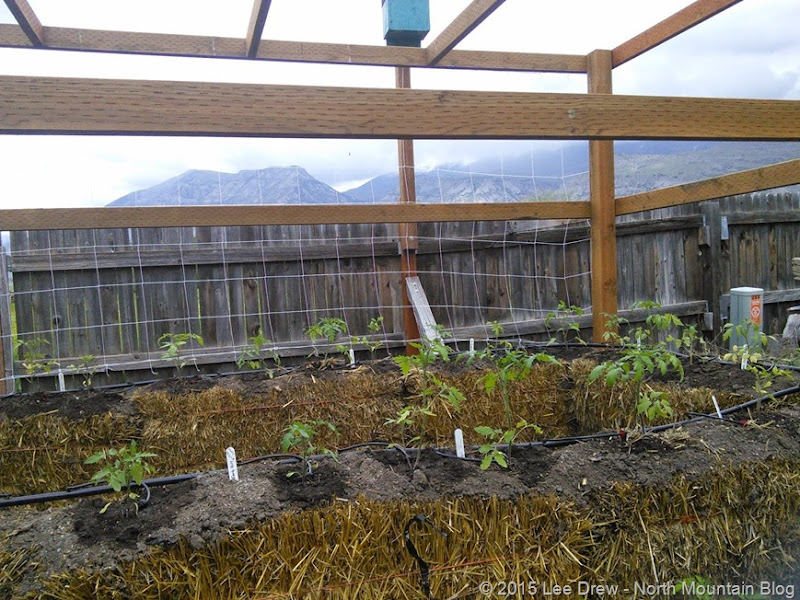


Straw Bale Garden Year Two
Vertical Gardening

Conclusions - Straw Bales and Vertical Garden Support Web Sizes
Straw bale gardening is here to stay for our family. Even our married children are enjoying a huge success with them this season. My old back thanks me. The ease of watering and the water conservation produced by the drip system is great. The future compost will be most welcome as an added source to our existing compost bin output. The production levels were even better than we’d hope for and when the planting combined with the vertical supporting is considered, the production was stellar. We loved the green “walls” of garden plants as did our families at their homes and ours.
The sweet spot of garden netting holes is 7” - 8” for most crops. We love the 10” spacing for cucumbers and larger items though.
Vertical garden net attachment materials. Like most of you, we’ve used a variety of support attachment materials for our plants in the past, ranging from twine to yarn, to rope to whatever was at hand. I finally broke down and purchased a couple of rolls of gardening Velcro this year and won’t use anything else after this. It’s the best solution that is reusable and is by far the easiest to work with.
As of this posting, the tomatoes, cucumbers and other plants that we planted in the straw bales are between 6 ft and 7 ft tall. I fully expect them to continue to grow another 2 – 3 ft in length at which time they will be supported by netting that I’ll add to the roof of the straw bale growing frame. They are already producing fruit continuously. It will be interesting reaching for the ceiling to pluck tomatoes from over head.
We already have a green house but if we decide to extend the growing season for the straw bale crops, we’ll simply wrap the straw bale frame we built with plastic and let the sun and the heat from the continuing degradation of the bales warm the temporary poly tunnel.
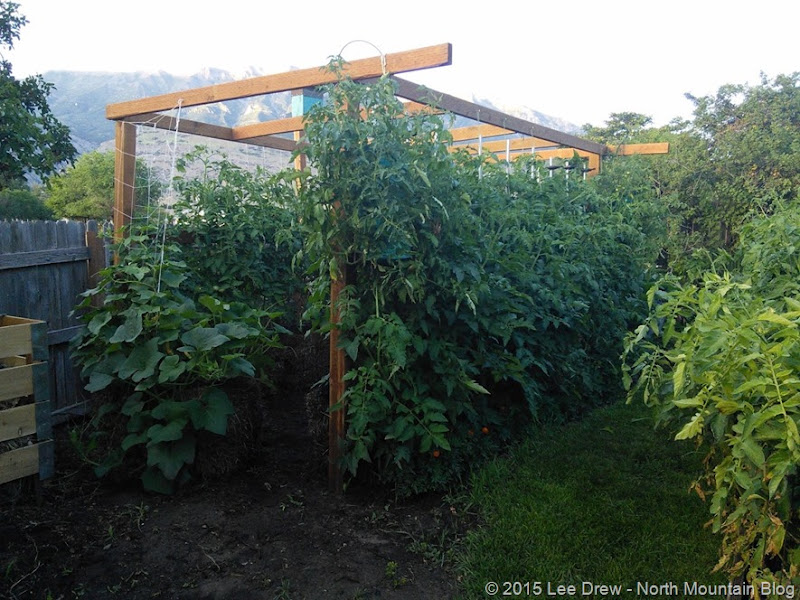
Here are the links I mentioned above:
- Feed Lot Panel - http://goo.gl/DJc0AW Example only for the graphic.
Update - 21 Jul 2015 - The tomato plants are now all over 7' 5" in height. I've added netting to the roof of the bale frame and am training the tomatoes onto it. The walls of the frame are solid green now with plants, although there are a lot of "red" and "yellow" decorations on the walls and before long, on the ceiling too.
The production of the plants is prodigious. Tomatoes, Cucumbers and Mini-Pumpkins galore.
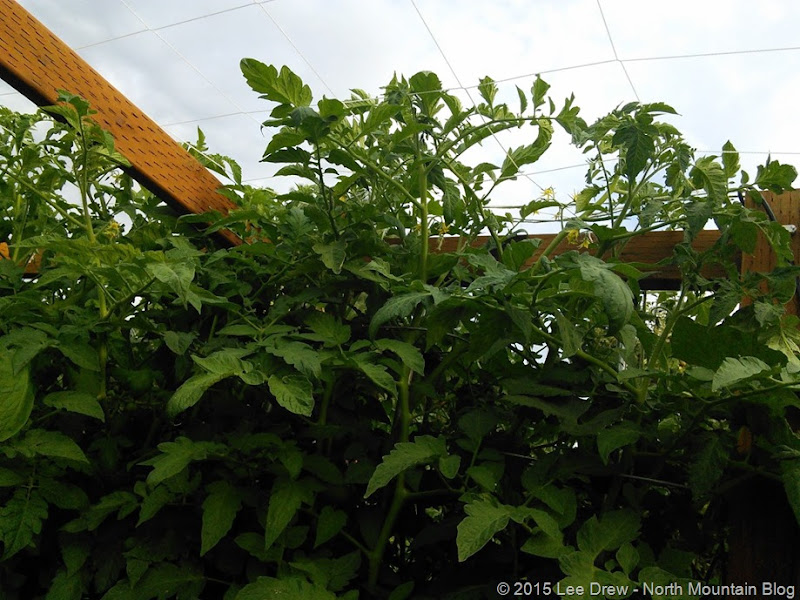

Update – 25 Jul 2015
The tomatoes continue to grow about 2 1/2” per day. Almost all of the plants are over 8 ft tall now and have started to produce heavily. We had to install netting over the top of the frame to support the tomatoes that are on the branches over 7 ft in height. They will be trained to lay on the netting as they continue to grow in total height. If the growth remains unabated, the roof will be a solid mass of tomato plants, leaves and fruit by mid-August. The cucumbers and mini-pumpkins growing in the straw bales are equally tall and are very prolific too.
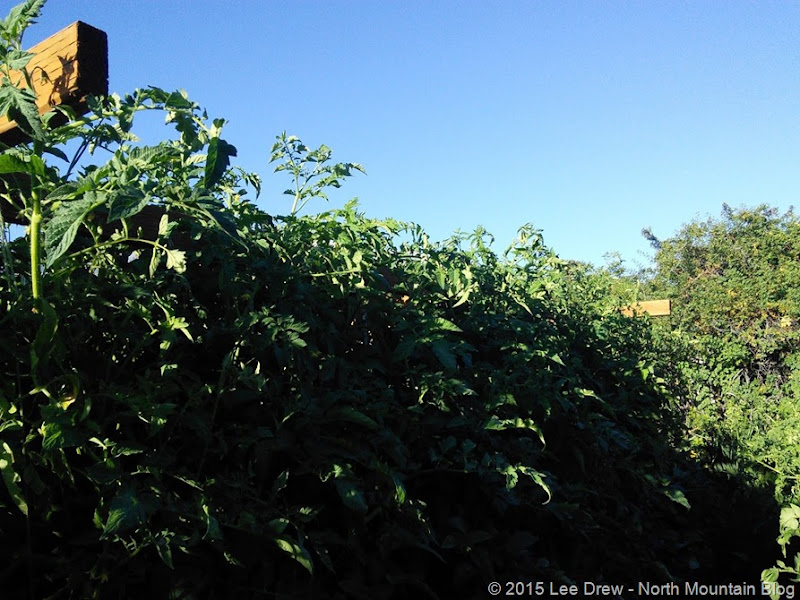

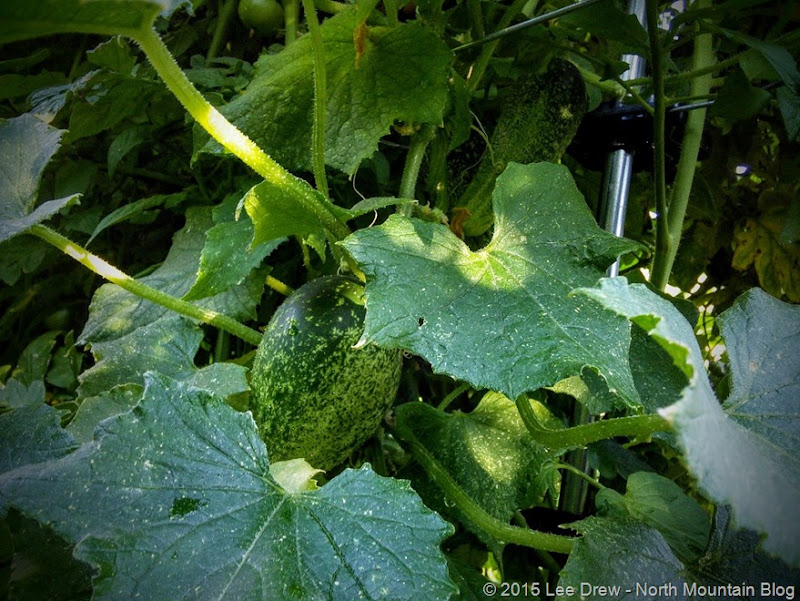

Update 28 Jul 2015
About 50% of the tomatoes growing in the straw bales are now over 8’ 6” tall and are starting to search for support. I’ll train them onto the netting across the 7’ high frame as much as possible so they don’t collapse back on themselves down the sided of their supports.
As noted earlier, when the plants are this tall, you need to use 4 tomato rings per plant or twine supporting the main branch of the plants. I’m supporting the tomatoes growing up the netting wall with Velcro garden tape to keep the weight of the plants supported by the netting, otherwise the weight of the fruit pulls them away from the netting when even minor breezes cross them.
The cucumbers growing in the bales are out-producing the cucumbers in the raised bed garden by a two to one factor.
The mini-pumpkin plant growing in the straw is growing so fast I have to train its path daily to keep the walkways clear.
One thing is clear, even though we are growing 12 varieties of tomatoes this year, we’ll try even more varieties next year growing both in raised beds and the straw bales to determine which grow the best in the different growing environments.

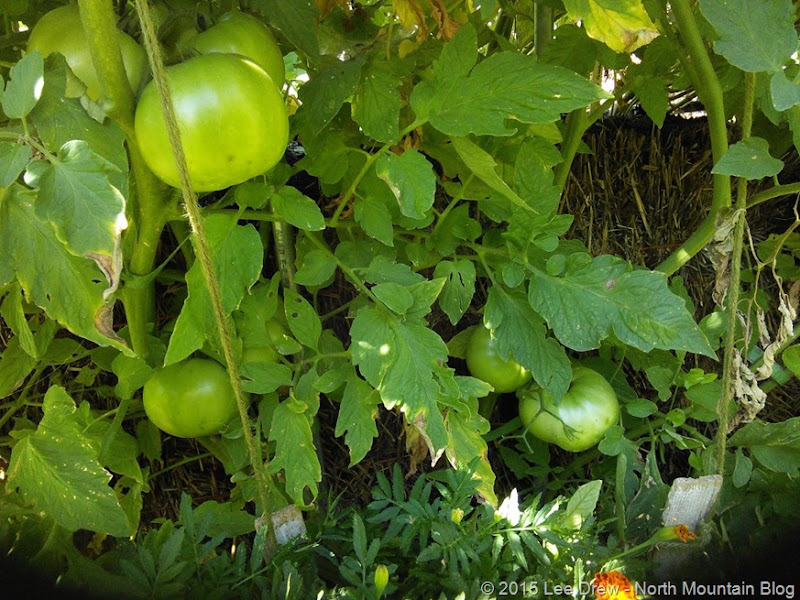
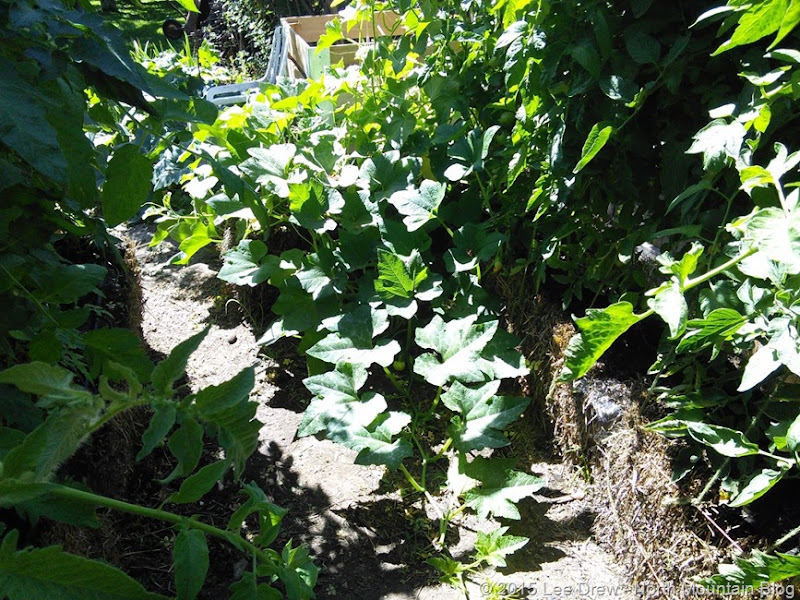
9 Aug 2015 Update
Our straw bale garden is exceeding our expectation so far, we wonder if it has taken on a life of its own.
The tomato plants now tower over 11 ft tall and the tomato plant walls are approximately 4 ft thick. They couldn’t have grown both so tall and thick without the supporting systems that you can see in the earlier photos. Once they were a foot taller than the top supporting structure, I stopped training them both vertically and horizontally because they had enough support from the plant above the overhead screen.
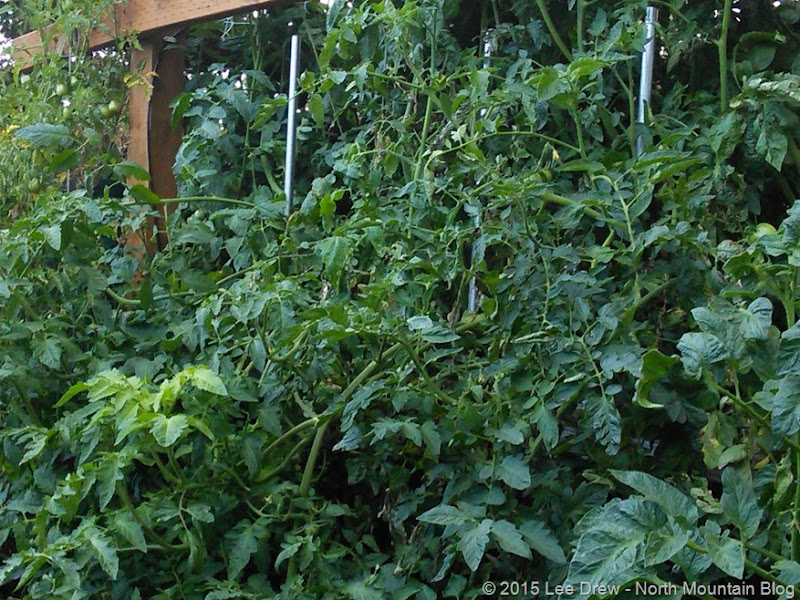
The plants on the north wall of the structure are fully supported by netting, which allowed them to spread further away from the main stem ties to the screen than did the plants in the oval rings and twine, because I had naturally kept them more closely aligned with their respective supporting systems. I just used gardening Velcro to tie the plants on the north wall to the netting in a less than perfectly vertical structure. Thus the plants on that side are well over 6 ft thick from side to side.
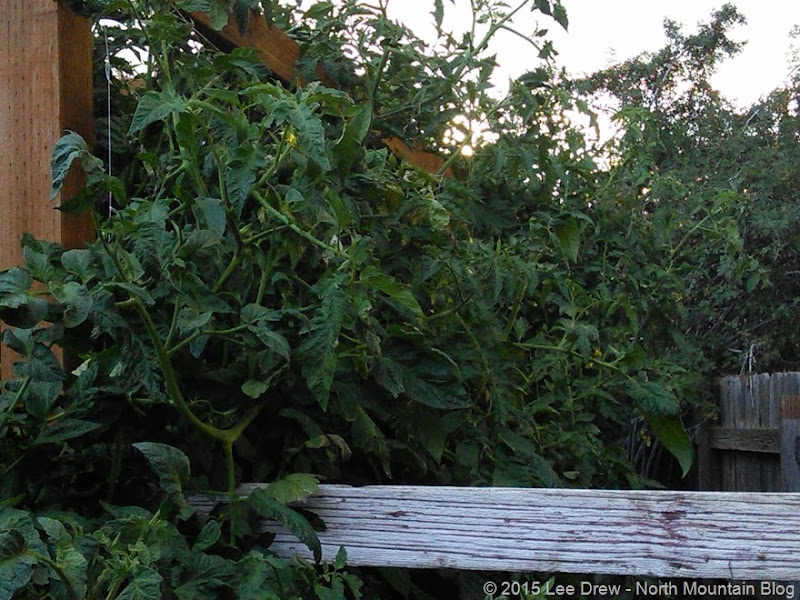
We continue to pick from 8 – 10 cucumbers per day from the 3 different variety cucumber plants. The min-pumpkin plant has to main leaders. One is 15 ft long and the other is 10 ft long. Both are covered in pumpkins and blossoms.

We initially thought that the tomatoes that exceeded 10 ft in height would naturally collapse onto the top screen, but they still continue to grow upward although their side branches are slowly covering the entire roof of the support structure. I have to move them back every other day to allow enough light to come through the netting to nurture the interior leaves of the plants.
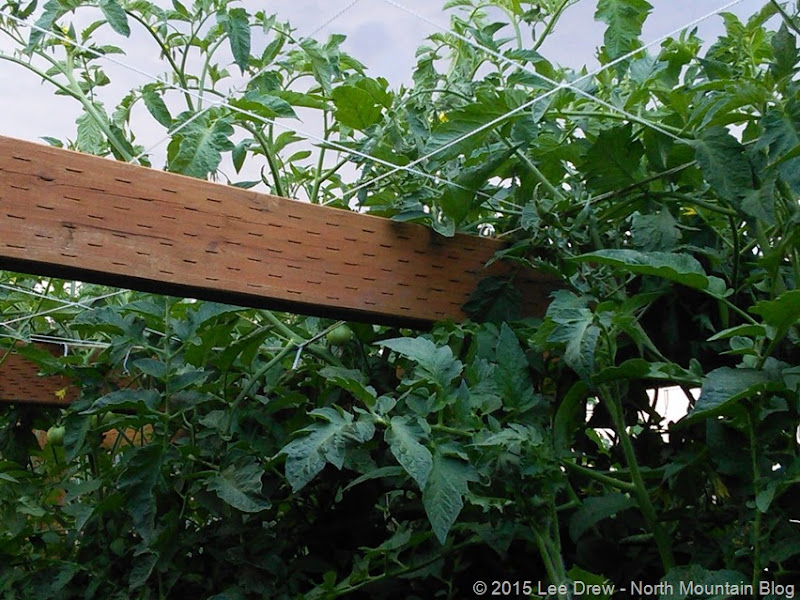
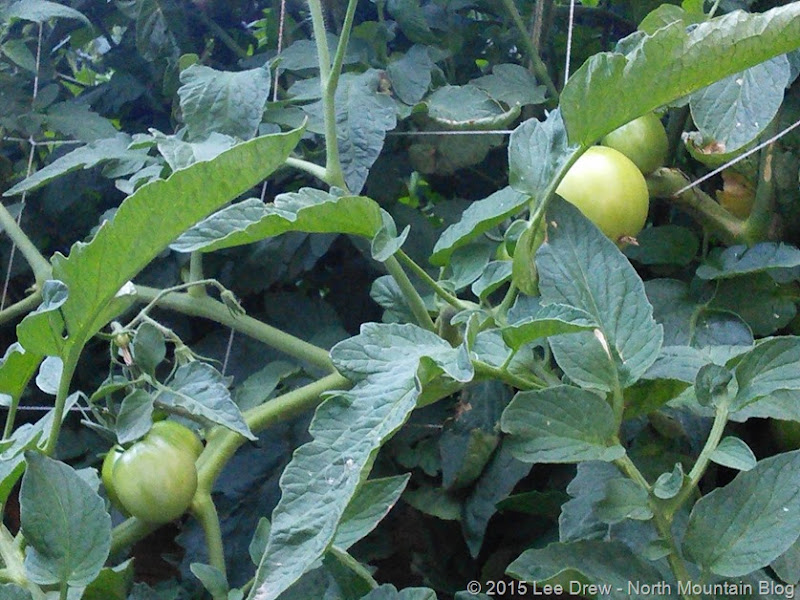
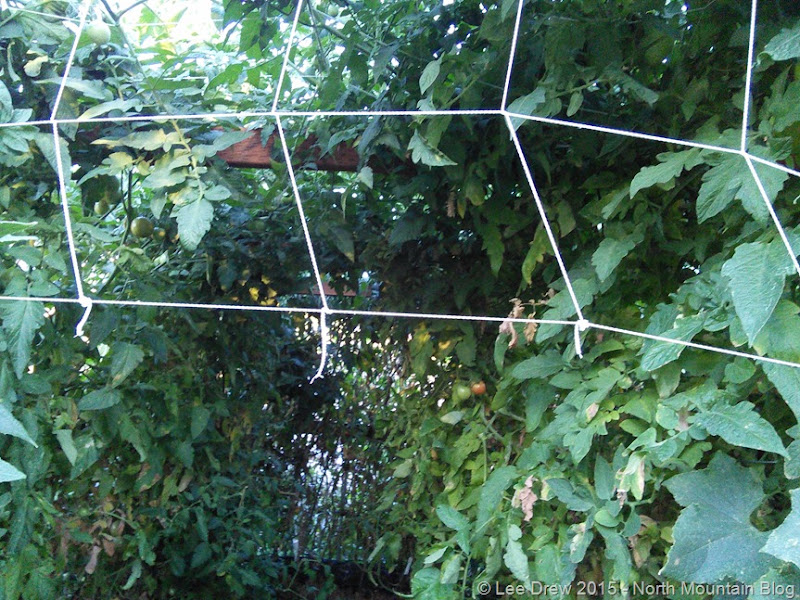
On cloudy days, walking into the center room of the structure almost feels like you are walking into a cave filled with man eating plants because of the size and thickness of the plants and the fact that they continue to grow about 2 1/2 inches a day. I kept the sucker shoots trimmed from all of the tomatoes until they crossed the top of the structure netting. We wondered if allowing them to continue to grow as tall vines would rob their fruit producing vitality, but if it has, it is a good thing because of the amount of fruit they are producing. I don’t think they could have supported any more weight from fruit had the vines been kept at 7 – 8 ft in height. The vines needed the extra central leader thickness that comes with plant height to support the weight of the fruit.

The photo of some of the fruit below is grainy due to the darkness of a cloudy day in addition to the shading that is part of the interior of the growing frame / support. The production of the fruit of all kinds has not declined on the interior though thanks to keeping most of the roof clear and the fact that all of the plants are heavily exposed to the sun both in their upper reaches and with all of their leaves on the outsides of the support frame. Some folks urge me to prune the lower leaves of the plants more severely than I already have but it hasn’t proven necessary given both the quantity and quality of the fruit growing at the lower levels.
8 Sep 2015 Update
The straw bale garden continues to produce more fruit than we ever envisioned possible. During the past week the ceiling of the growth frame was finally covered with tomato plants. When I picked fruit tonight, I literally picked it from the ‘ceiling’ of the frame.
To date, we have picked over 400 lbs of tomatoes from within the frame and around 100 cucumbers from 2 plants that are that we planted on the end of two of the bales. To say that the payback on the investment to build the frame, drip system and the bales astounding is an understatement. With at least two more pickings ahead of us before the first frost and then still having a substantial harvest of green tomatoes, we are sure that our straw bale garden will produce over 500 lbs of tomatoes this year.
We have encountered a problem with two plants that picked up a disease from a nearby planting of tomatoes in a raised bed. The plants were destroyed immediately so that hopefully the disease was not embedded in the straw bale in which they were growing.
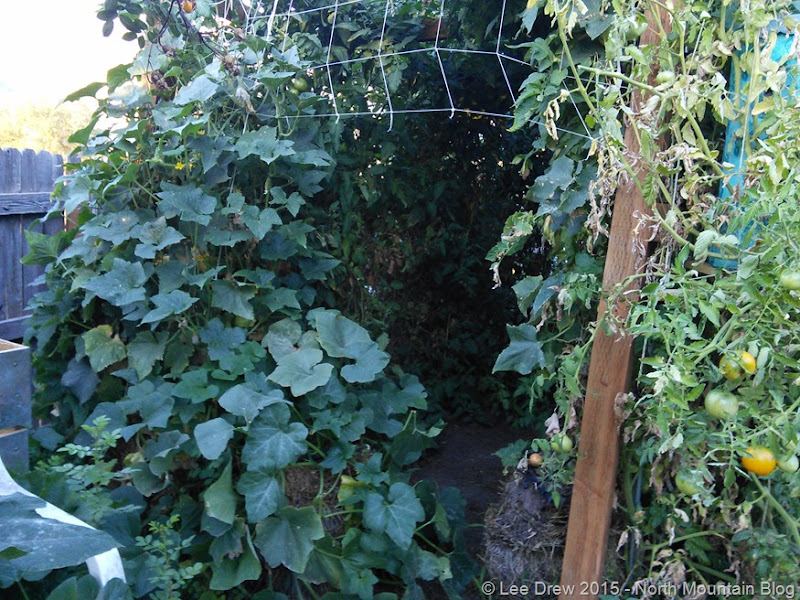
The photos show that the growing season is waning and that the bottom leaves on many of the pants have died back. I noted in an earlier update that I purposely left the leaves on the bottom of the plants as a test to see if they could / would produce with the center of the frame basically becoming a somewhat darkly shaded tunnel. The production doesn’t seem to have been affected but of course, the plants still had a lot of access to the sun and fresh air on the outside of the frame and though the higher branches of the plants.

As you can see by the size of some of the fruit above, supports were absolutely necessary for the plants. We planted 8 different varieties of tomatoes in total. The Early Girls produced in clusters like grapes. The Pineapple, Endless Summer and Orange Slice were particularly large, delicious, sweet and mild. They along with the Pink and Yellow Brandywine’s will definitely be grown again next year. Many of the fruits from these four varieties exceed 3 lbs. One tomato was a meal in itself.
You can see the fruit hanging from the ‘ceiling’ in the photo below. I had already harvested all of the tomatoes hanging inside the ‘ceiling’ and some of them from above the mesh prior to taking this photo.

The first basket was filled with tomatoes in minutes without moving more than 4 feet in tonight’s picking. Note the numerous varieties of tomatoes that were all ripe, despite their coloring. The cucumber production is finally starting to slow.

The last photo in this update shows the thinning of the bottom leaves as part of a natural die-off rather than from me manually thinning them as many gardeners do to increase the health and production of their tomatoes.
14 Nov 2015 Update
The first hard freeze of the Fall 2015 season hit us in the early morning of November 7. It was followed by another hard freeze the next night and as a result we had to say goodbye to our straw bale garden. We have thoroughly enjoyed it this year and it was hard to see it gone.
I’m already working on plans for a much larger straw bale garden for 2016. We are so amazed with the production of the 2015 straw bale garden, we can’t resist expanding on the idea in both size and also in the type of crops we will plant in it. The new garden will be a little over 3 times the size of the 2015 garden.
Below are photos of now denuded 2015 bale garden. I took them to keep as reference points for a number of reasons:
- Which bales need to be replaced before the beginning of their 2nd year of service. (We knew that we would only get two years out of them.)
- The location and types of support systems used in the experimental first year.
- The exact location of the bales and the name tags for the plants that were planted in them.
- Any damage due to insects, insidious weeds and leaks in the drip system.
- Tomato Rings – The rings worked so well by providing full support for the branches and tomatoes, few tomatoes were lost and the daily maintenance time was minimal.
- 5” Nylon Trellis Netting – The netting worked very well, but the plants had to be tied to the mesh frequently via Gardening Velcro. The mesh squares worked well on the top of the support structure to hold the tomatoes that ‘dripped’ from the ceiling.
- The commonly used garden twine. We still like the use of garden twine in the garden, but based on the almost magical growth of plants rooted in our straw bales, the twine method simply can’t keep up to the growth in the mid-to-later summer without a LOT of work on a daily basis.
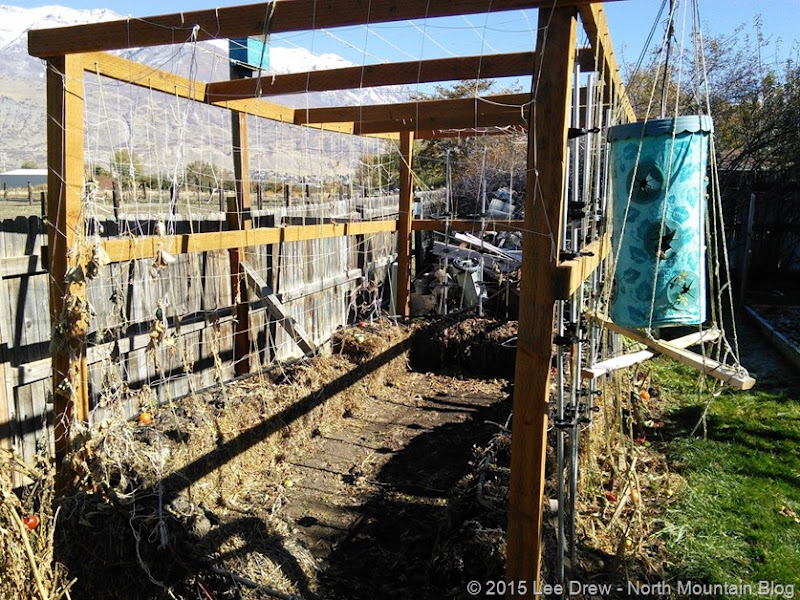
The bale at the end of the path has basically broken down to compost and will have to be replaced for 2016.

This poor fellow (below:) met his match when it supported the growth of two cucumber plants and one mini-pumpkin plant. They about ‘sucked’ it dry.

Yes,the bales look like they have seen better days (they have!) but will they last for 2 years? I think that most if not all of them will after I’ve inspected them and pulled out any of them that are in almost total failure. The failed bales will be added to one of our compost pits to turn into black garden gold.
The bales that I leave in place for a 2nd year will require my attention in the 2016 growing year. I’ll be sure to only use them on aisles where I’m using electrical conduit and tomato rings. I am going to try some schedule 40 PVC for the supports next year to see how they stand up to the weight, sunlight and strain associated with a garden setting that has mega growth plants demanding constant support of their heavy weight.

We can’t wait to start developing our 2016 straw bale gardens. As noted earlier, our 2016 straw bale garden will be a little over 3 times the size of our 2015 test garden. All of our children and many friends and acquaintances are going to use the straw bales gardening system in their own gardens next year. We know from experience that if they exactly follow the methods,mixtures and TLC that we used in our 2015 garden, they will be blown away by the increased garden production levels in 2016. We have been so happy with our garden this year that we’ve actually invited folks to “come on out back and see out garden” simply because we love watching their eyes pop open so wide they almost look like cartoon images when they first spot the straw bales in full growth.
We picked over 500 pounds of fruit off of our little straw bale garden this year. Wow! Even I’m surprised. There were days when we could actually see the plants grow up to 4” in length.
What more can be said about straw bale gardens? Well, according to the Anesthesiologists who were taking care of me in several recent operations, they were the last thing I talked about before the lights went out and the first thing I talked about when I started to come to again. I guess that is enough of a selling point for my family as they know how much I dislike hospitals and ‘medical procedures’ that sank in importance to me so much that I didn’t care about the hospital recovery rooms and gatherings of folks in masks enough to keep me from telling them about ‘this miracle gardening method’. In other words, “Try it Mikey, You’ll like it!”
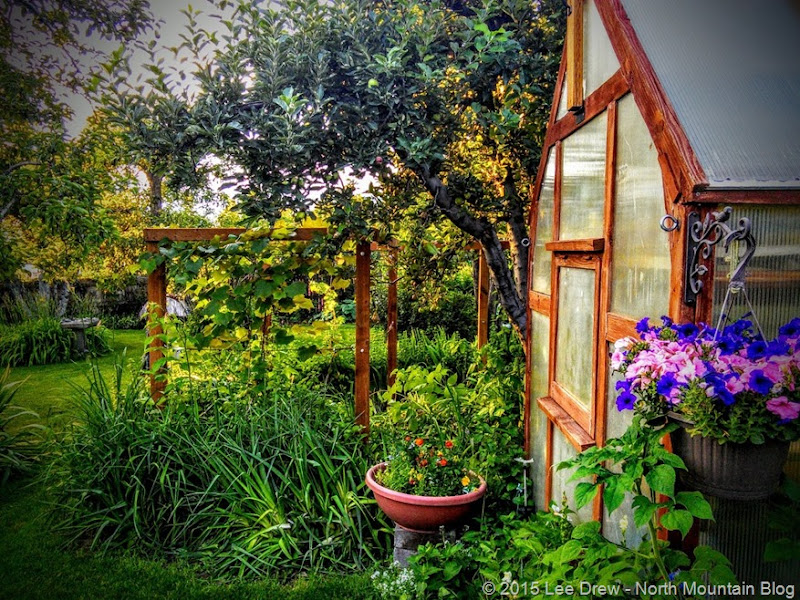
Lastly, here’s a look north toward the straw bale garden that is by the rear fence and is not visible in this photo. We still love our older but still very serviceable greenhouse and hope that it out lasts our stay in mortality if it is well maintained.
Posted 10 July 2015 by Lee R. Drew on the NorthMountain Blog